Introduction
This week, I expanded the combat system by implementing melee weapon mechanics and status effects based on design specifications. The work included:
- Debuff systems (poison, bleed, hemorrhage)
- Weapon-specific mechanics (blocking, AoE stun, damage scaling)
- Synergy with player expertise (a stat from the XP system)
Collaborating with designers, I ensured these systems align with the game’s strategic combat vision while preparing for future stat integration.
Part 1: Status Effect System
Poison Debuff
- Mechanic: Stacks increase damage taken, scaled by player expertise
- Damage calculated as:
(int)(poisonCount + (poisonCount * (0.2f + (playerExpertise / 100))))
Bleed & Hemorrhage
- Bleed: 10 stacks trigger Hemorrhage, increasing all incoming damage
- Network Sync: Uses [Networked] timers and counters


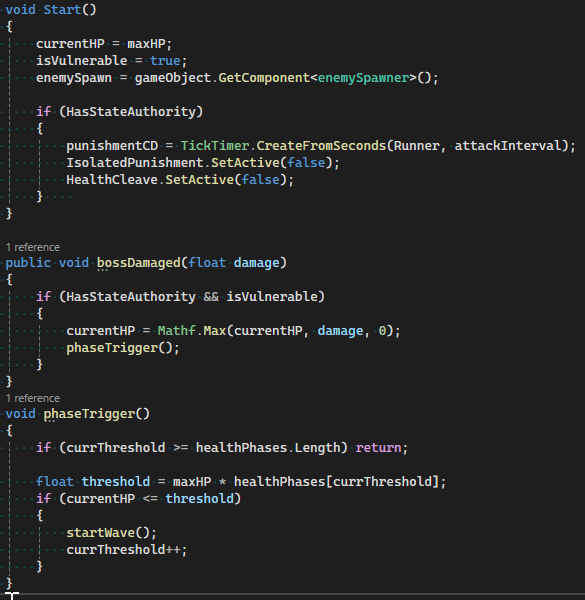
Part 2: Weapon-Specific Mechanics
1. One-Handed Sword (Blocking)
- Mechanic: Right-click triggers damage reduction

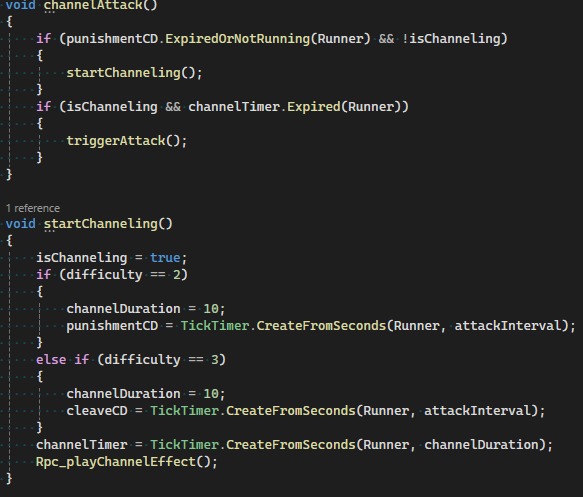
2. Mace (AoE Stun)
- Tradeoff: 15% less damage for AoE stun


Two-Handed Sword (Expertise Scaling)
- Mechanic: Damage increases + damage reduction based on expertise

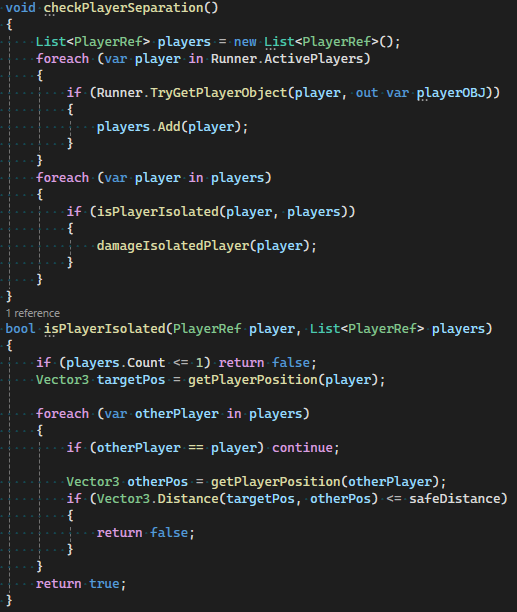
Collaborative Challenges
- Design Coordination
- Adapted placeholder values from word docs into testable formulas
- Created debug UI to visualize status stacks (Imgur screenshot below)
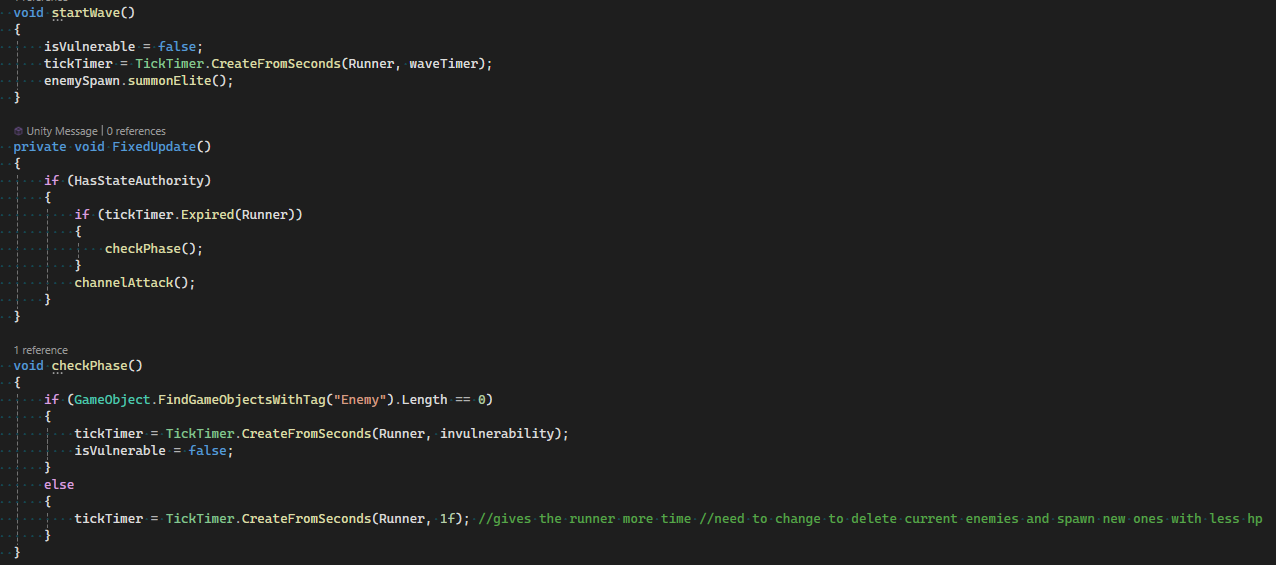
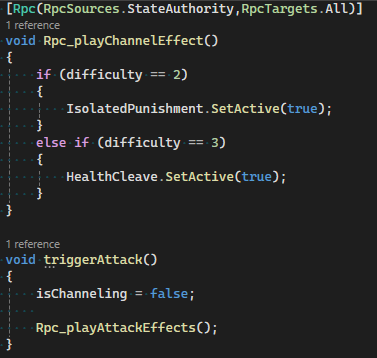
- Network Optimization
- Reduced RPC calls by using
[Networked]properties for timers - Resolved de-sync in hemorrhage duration with
TickTimer
- Reduced RPC calls by using
- Art Pipeline
- Structured code to accept animation events (e.g.,
OnSwingComplete()) - Documented transform requirements for weapon prefabs
- Structured code to accept animation events (e.g.,
Reflection
Successes
- Flexible debuff system supports easy addition of new effects
- Expertise integration creates meaningful progression
- Network-friendly architecture maintains performance
Areas for Improvement
- Current stun effect lacks visual feedback
- Hemorrhage scaling formula needs playtesting
- Blocking mechanic doesn’t yet consume stamina
Next Steps
- Visual/Audio Feedback
- Add particle effects for poison/bleed (collaborate with VFX team)
- Implement blocking sound
- Stat Integration
- Connect expertise to XP system’s level-up menu
- Balance formulas using designer-provided curves
References
- Photon Engine. (2025). Fusion 2 Introduction. Retrieved May 2, 2025, from https://doc.photonengine.com/fusion/current/fusion-intro
- Unity Technologies. (2025). Unity Engine. Retrieved May 2, 2025, from https://unity.com/products/unity-engine
- ShareX. (2025). Free and Open Source Screenshot Tool for Windows. Retrieved May 2, 2025, from https://getsharex.com
- Imgur. (2025). Online Image Sharing and Hosting Service. Retrieved May 2, 2025, from https://imgur.com
- pokimoki99. (2025). CGM [Source code]. GitHub. https://github.com/pokimoki99/CGM